
Not all videos need to be professionally produced. This is a bold statement, seeing that I am a professional filmmaker. However, one thing is clear: video must be used as part of your marketing, product, and outreach strategy. There’s frankly no way around it if you follow the data. Here are some tips for improving your DIY videos and giving them a high-quality look and feel.
Use a Tripod

Stability goes a long way. No one wants to watch a shaky video. Use a tripod or stabilizer for your phone and make sure the camera lens is pointing straight ahead and not tilted. This will also provide you with the ability to go hands-free so that you look more natural on camera.
Make sure the camera lens is in front of you and that you’re not looking off to the side. Match your eye line with the lens, which means that both the lens and your eyes are on the same level.
You can buy a tripod and phone mount online at Amazon (or even better, your local camera store). I use KobraTech, but there are lots of other options.

Lighting
Proper lighting is critical. Ensure that you are lighting the front of your face by keeping your lights/lamps within a forty-five-degree angle of your nose. You’re not going for Hitchcock, Welles, or Fellini here. If you don’t have lights, sit near a bright window – natural light is beautiful. Make sure you’re not backlit (too much light behind you, not enough in front of you), which will make you look dark.
Recording Quality and Frame Rate
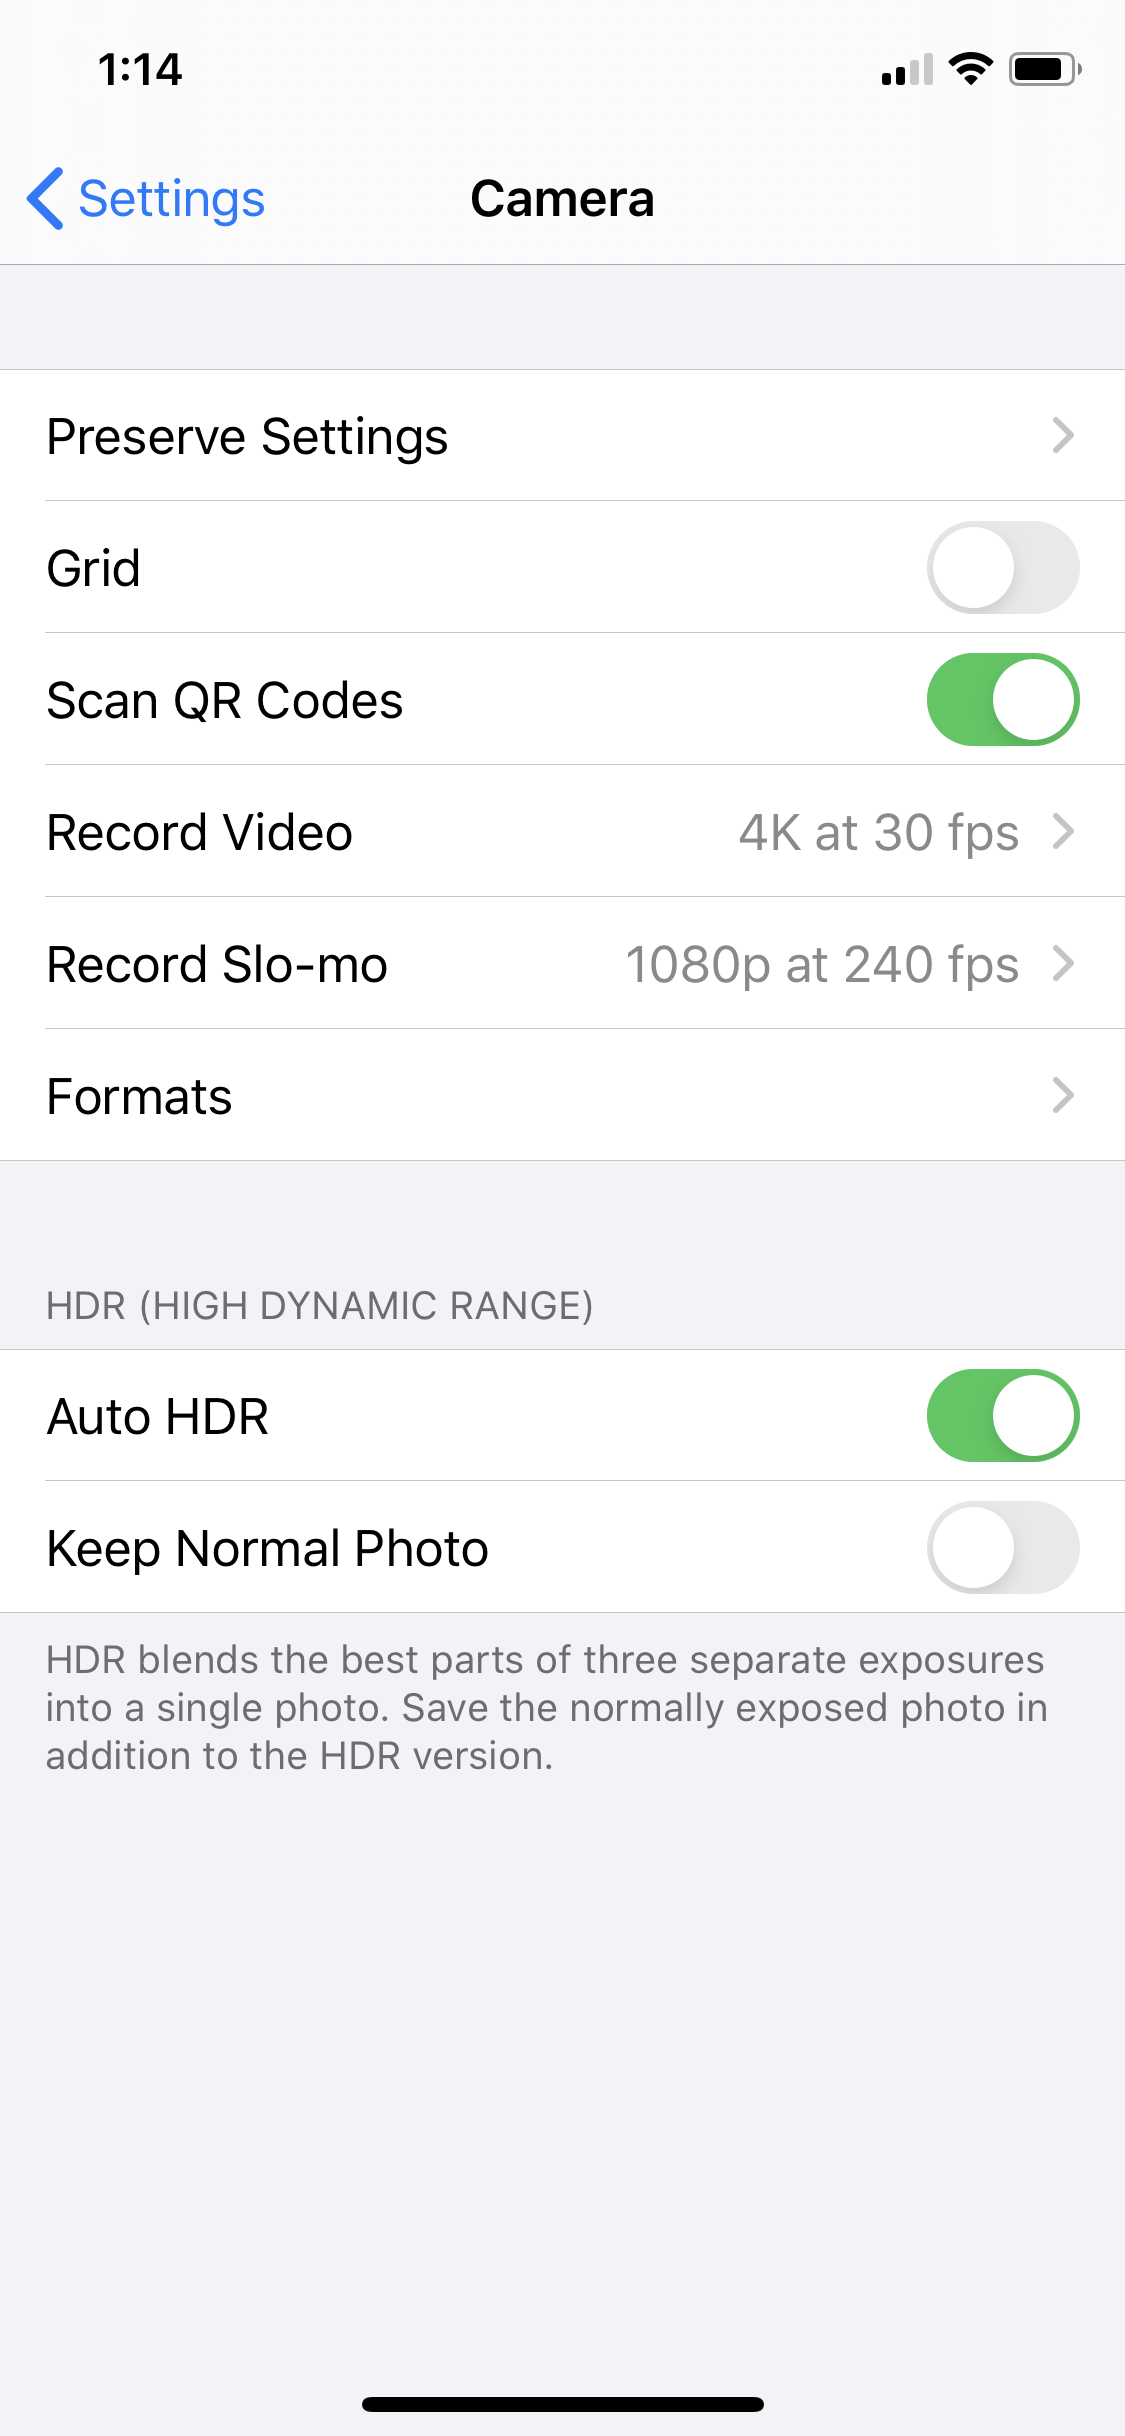

Settings –> Camera –> Choose your preferences
iPhones now give you the option to choose your shooting quality – 4K, 1080 HD, 720 – and frame rate – 60 frames per second (fps), 30 fps, and 24 fps. Without getting into the nitty-gritty of each of these, I’d recommend shooting at 4K @ 30 fps or 1080 @ 30 fps. Go for highest possible visual quality. Keep in mind that shooting at 4K will take up more space on your phone, so make sure you have enough storage available.
If you plan on slowing down your footage, then consider 60 fps, but this frame rate will require more light to look good (it’s a shutter speed thing). The iPhone also gives you the option of using its built-in slow-motion feature. If you choose to use it for part of your DIY video, use it wisely.
Using the Zoom Function
Don’t use it. If you want your subject closer to the camera, move the camera or the subject closer together. Using the digital zoom degrades the quality of your image.
Exposure Lock
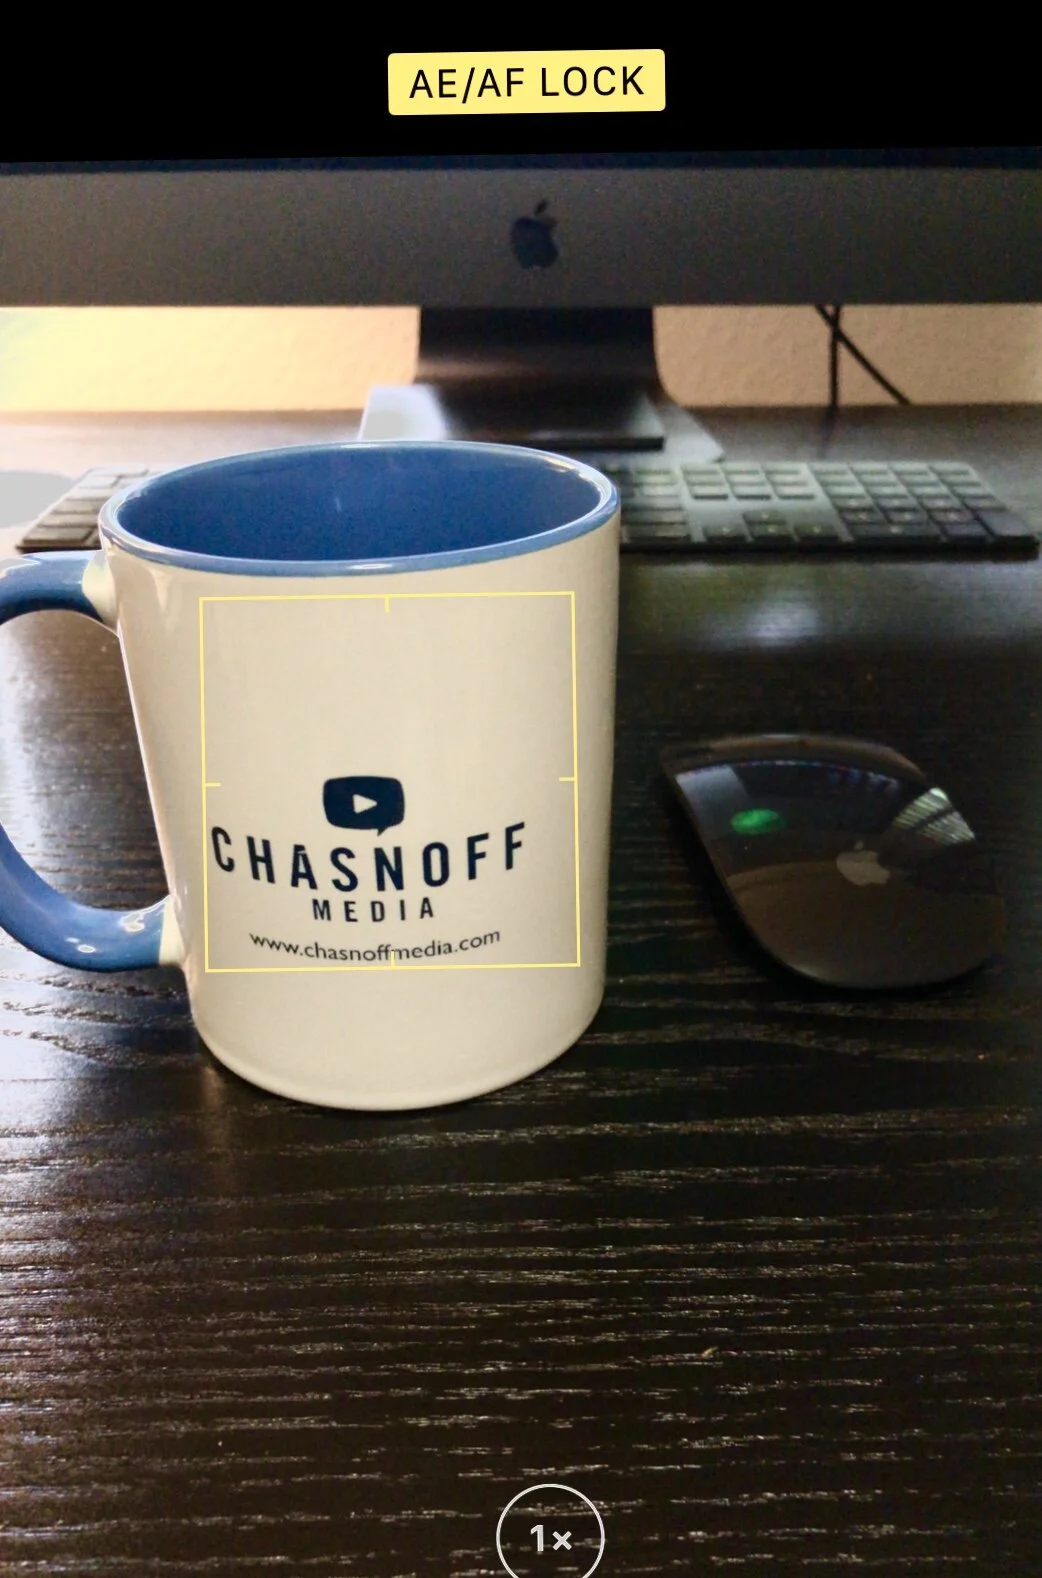
Use the iPhone’s exposure lock and focus lock feature to prevent the camera from continually trying to autofocus and auto-expose your image – this creates unsightly flickering. To use the AE/AF lock, hold down your finger on the area where you want your camera to focus, and the feature will activate.
Edit Your Video
Use the built-in editing feature, iMovie, or some other software to edit your videos and clean them up. If nothing else, trim the front and back ends of your video: no one needs to see you settling into your chair and clearing your throat before you launch into your monologue. Likewise, no one needs to see you get out of your chair, with a deep sigh of relief, to turn off your camera.
Audio
One of the things that makes a pro video a pro video is high-quality audio and sound. I highly recommend buying an external mic for your iPhone that you can plug into your device. The Rode SmartLav is a good option, but there are lots on the market to choose from: https://www.bhphotovideo.com/c/product/1059342-REG/rode_smartlav_smart_lav_lav_mic_for.html/ap=y&ap=y&smp=y&smp=y&lsft=BI%3A514&gclid=EAIaIQobChMIi52km_mz6QIVYR6tBh1M1wCMEAQYASABEgK9DfD_BwE.
If you can’t purchase a mic, try to get your hands on a second phone and use the voice memo feature to record your audio, which you can sync and match in editing. Place the second phone closer to your person, out of frame. Do a couple of audio tests to find the right position – it may be suspended above you or beneath you with the mic pointing towards your mouth.
Orientation

IG Stories 1080x1920

IG Stories 600x700
Before you shoot, consider where you are going to be posting your video and how you want to orient your phone. For Instagram Stories, orient vertically. For YouTube or Vimeo, orient horizontally.
Rule of Thirds

Use the rule of thirds to compose a more professional-looking shot. Use the grid lines on your phone to help you line up your subject. You can learn more about the Rule of Thirds here: https://digital-photography-school.com/rule-of-thirds/.
If you have questions or would like a more in-depth consultation, please contact me. I can also help you take your video to the next level with some simple, cost-effective editing using animated text, motion graphics, music, and more.